
Formal practices are the best way to learn the fundamentals of the game of basketball, but learning things on their own can help a child translate them into practices and games. The key to practicing basketball at home is to focus on drills that enhance or develop endurance, ball handling and shooting ability. Mental drills could be just as useful as the act of doing them. Proper technique is important. Simply go outside, grab a basketball and get started!
- Cone Dribbling
This is a basic drill for kids that will help with improving their ball handling using various dribble moves. Using a total of five cones (or other items), align the cones in a straight line and separate them about 5 feet. Using one ball, the player will dribble to the first cone at a moderate speed with the ball in the left hand to start and do a left-to-right crossover once reaching the cone. Progressing to the next cone, the player will dribble with the right hand and do a right-to-left crossover. Repeat these steps for the remaining cones. After using the crossover dribble, use different dribble moves such as a dribble crossover through the legs at each cone, behind-the-back dribble, and an in-and-out dribble (a dribble that makes the player appears as though they will change directions.) It is important to practice using both hands while dribbling so each hand is equally skilled with the ball. Progress this dribbling skill drill to one where the player will not look down at the ball or cones. Then progress to moving the cones in different positions and not in a straight line or not using the cones at all.
- One Ball-Two Ball Dribbling
This drill will first start off using one ball first. The player will be in an athletic squat position and dribble the ball with their strong hand first in a stationary spot for 30 seconds. Then the player will then use their weaker hand to dribble the ball for 30 seconds. After mastering this drill using one ball, the player will then progress to use two basketballs, one in each hand. For 30 seconds the player will be in a squat position with their head up and not looking down at the ground or balls. While dribbling both basketballs, it should be a simultaneously motion with both basketballs in motion. Both balls should hit the ground simultaneously when dribbling. The objective of this drill is to help the player keep their head up while dribbling and to practice keeping control of the basketball in a stationary spot. Once they have mastered dribbling in a stationary spot, they can start moving around and dribble in a straight line to a certain point and then dribble back to the starting point with their head up.
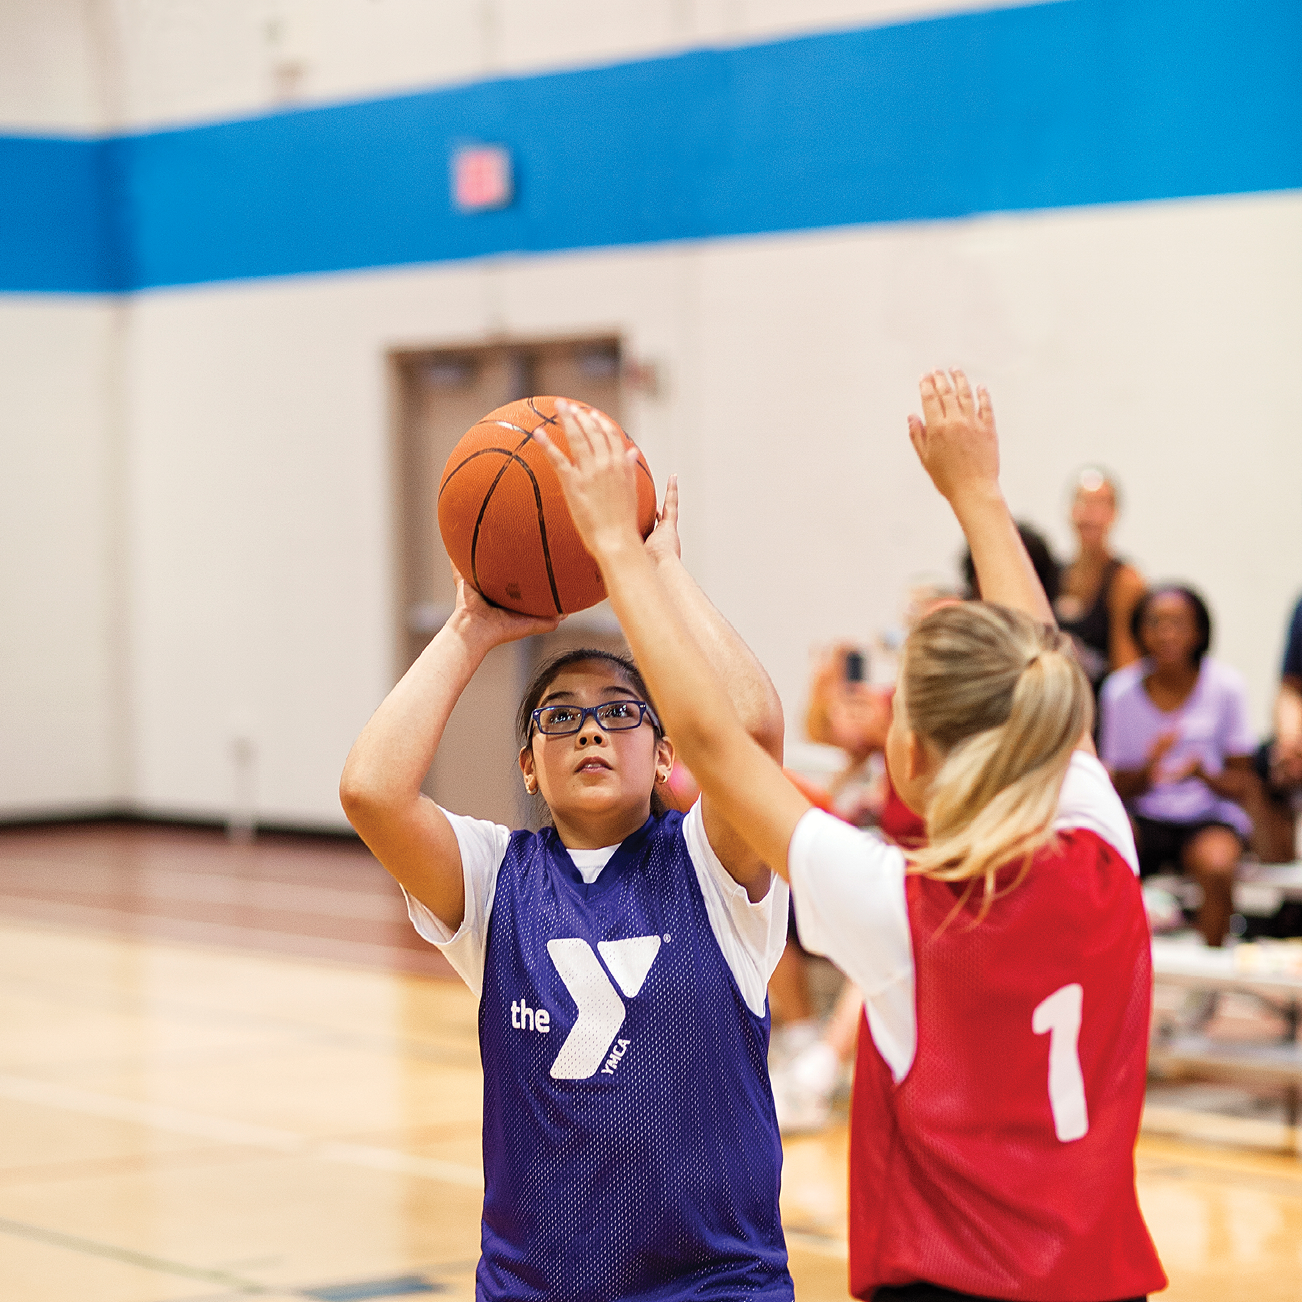
- Shooting Drill
Using one basketball, start off on the right side near the basketball hoop. If there isn’t a hoop, you can practice shooting the ball at a tall object. Make 5 shot attempts using the backboard. The player should be at a good angle so they are able to shoot the basketball off the backboard. After making 5 shots, the player will then expand out to the midrange area on the right side and make 5 shot attempts. Complete these steps on the left side starting right under the hoop. After making a total of 5 shots from the 4 different spots, the player will finish the drill making two free throw shots. This drill will help the player be comfortable shooting from different spots on the basketball court and shooting free throws. Players can work their follow through using their legs when shooting.
- Layup Drill
Starting at the right side, the player will dribble the ball with their right hand and attempt a layup while making sure they jump off their left leg and finish with their right hand. Softly lay up the ball using the square on the backboard. Making sure players jump off the correct leg and finish with the correct hand is important while doing this drill. On the left side, complete the same steps but the player will dribble up to the basketball hoop using their left hand, jump off their right leg and finish with their left hand. Some players find it hard to use their weaker hand while doing layups because they don’t practice making their weaker hand stronger. If there is no hoop, players can practice dribbling up to a garage door or wall and jumping off the correct leg as if there is a hoop above. This will help players know which leg to jump off when dribbling on the right and left side of a basketball hoop. The more your practice, the better you will get!
- Defensive Slides
The player will start in an athletic squat position with their arms expanded out and on balance with their lower body. They will slowly go to the right using one step at a time but staying low and not crossing their feet with one another. It should be a kick with the leading foot in the direction they are going with the other leg following behind. The player can do defensive slides going back and forth from side to side on your driveway or area, touching each end with a hand. Once comfortable with doing slides going in a horizontal direction, players can then start going in a vertical direction as well. Once players get the basic fundamental of the defensive slide down, they can start going at a faster pace in different directions.
-
Zig Zag Dribbling
With this drill set up four cones (or other items) in your driveway or area. The first cone will be in the corner, second cone will be about 5 feet apart at an angle on the right side. The last two cones will also be about 5 feet apart from each other. These four cones should go in a zigzag direction when they are set up. When the player dribbles to the cones, they should go in a right-left-right-left direction, not in a straight line. Starting in the corner with a basketball, the player will dribble at a moderate pace with their right hand to the first cone and do a simple right-to-left crossover. Once the player reaches the first cone they will use that same right-to-left crossover in which the ball will be in their left hand now continuing to dribble to the next cone. The player will continue these steps, making sure the basketball is in the correct hand while dribbling and keeping their head up and not looking down. Players can then start using different moves such as going behind their back, and through the legs crossover. The objective of this drill is to work on different dribble moves while moving with the ball in possession. - Free Throw Shooting
The player will start by using one ball from the free throw line. A right handed player will line up their right foot with the free throw line with the basketball hoop. High school free throw lines are typically 15 feet from the basket. You can mark this line with chalk or tape. If the player is left handed, their left foot should be lined up with the hoop. It is important for the player to bend their knees and have correct form at the line. Younger players can start off closer to the basketball hoop in the “paint” and practice from a shorter range. If there is no hoop at home, players can practice by bending their knees and shooting the ball into the air while working on follow through.
Keep up the good work! Working on basketball skills over time will help translate into game situations, but it does take time and practice. So it is important to be patient. If it were easy, everyone would be a star basketball player. It is those who work hard at it that come out of it better than when they went into it. Focus on technique, hand placement and movement, arm movement and other little things that make everything work properly. Learning these small things will help the overall outcome. When players master these drills, the can talk with their parents/coaches to see what else they can do at home to improve.