If you play volleyball or you're interested in picking up the sport at your local Y, practicing drills at home can help you improve your essential volleyball techniques. With every sport comes the need for consistent practice to hone your skills. Luckily, volleyball players can easily practice passing, setting and hitting drills alone or at home.
Here are a few drills to help you or the young volleyball player in your family get prepared for the volleyball season!
How to Get Better at Passing in Volleyball
Passing is a part of volleyball that requires a lot of intensity, movement and focus, so develop your skills and improve at passing with these tips:
- Practice the correct stance: Posture is key to your success when passing in volleyball. Stay in a ready stance to always be prepared to react and move. Practice your stance by standing with your knees flexed and your weight on the balls of your feet. When you’re ready to move to meet the ball, step first with your foot that is closest to the ball and arrive as quickly as possible so that you have more time to change up your position before making contact with the ball.
- Practice tracking the ball: Tracking the ball is an aspect of passing that requires a lot of focus. You should be tracking the ball from the moment it leaves the server’s hand, observing how the server makes contact with the ball and noting how the ball is moving toward you. How quickly is the ball moving? Is it floating or spinning? Paying attention to these details will help you figure out where the ball is heading.
- Practice reaction time: As you continue to practice with your team, a friend and by yourself, quicken the pace of your drills. Honing your reaction time is key to making contact with the ball and getting into the best position to pass.
Passing Drills
To practice, try these volleyball passing drills at home, at your local park or where is convenient!
1. Passing to Yourself
With this drill, you want to plant your feet and lower your legs like you would be ready to receive a pass from the opposing team. Throw the ball up in the air and pass to yourself while moving back and forth and side to side. This drill will help you improve your passing along with your footwork!
2. Wall Pass
For this drill, you can use an empty wall outdoors or in a gymnasium. Use the wall to hit the ball off and receive the return pass. See how many times you can return the ball from the wall and how many you can get in a row! This will improve your passing skills as well as create a bit of competition with yourself to test how many consecutive passes you can get!
3. Pepper
Pepper is a great drill to do by yourself or with a partner. Pepper helps you practice the three things you do most during the game: bump, set and spike. To do it alone, you can start with an empty wall outdoors or in a gym. Next, try to keep a rhythm going by first bumping to the wall. Then volley the return from the wall and spike the ball back to the wall. Your main goal is to try to maintain a rhythm.
To do this with a partner, you can grab a friend and perform the same steps above. This is a bit more of a challenge because you'll be trying to keep each other in sync. Working with a partner also helps with passing as well as teamwork and communicating with other players.
4. Toss and Catch
With a partner, toss the ball back and forth. Your arms should be up at a 90-degree angle while you wait for the pass. While maintaining the 90-degree angle, bend your legs. Also, bend at the waist, so your shoulders are forward, and your hips are back. The other player should catch the ball and toss it back.
This basic drill is meant for developing consistent passing skills and to make sure each player is correctly using their legs when they pass, not their arms or wrists.
5. Shuffle Steps
This drill for beginners involves a player shuffling their feet to learn body control and quick movement during a game. Toss the ball up high and at least ten feet away from your partner. They will then shuffle to reach the ball without crossing their feet. Make sure to switch sides to get comfortable with shuffling your feet in both directions, and give each partner plenty of practice.
6. 3's and 2's
For this drill, two players stand on one side of the net and another player stands on the other. For the two players on the same side, one will stand in the position of the setter and the other will stand in a back row position.
From the opposite side of the net, the third player lines up with the other players and passes the ball to the player in the back row position. This player will then pass the ball to the setter. As soon as the player in the back row passes the ball to the setter, the third player on the opposite side of the net will throw a second ball over the net to the player in the back row. This drill is designed to be fast-paced so you and your friends can test how quickly and accurately you can pass the ball!
These drills are fun and can be performed just about anywhere, so get out there and start practicing your passing today!
How to Get Better at Setting in Volleyball
A setter has the uniquely important job of providing their team with a ball they can hit and score with. Quite a bit of pressure can ride on the setter's shoulders, which is why practicing with setting drills can help you ensure you're giving your team a chance at success.
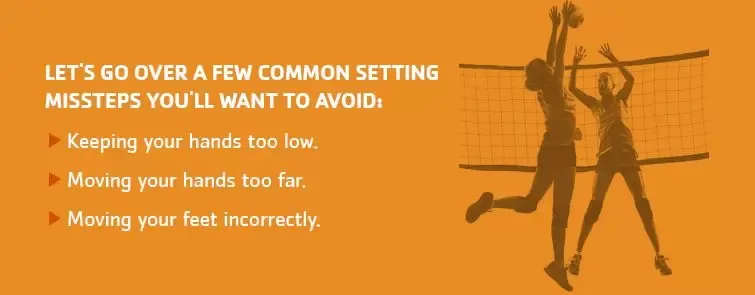
Before we jump into drills you can start running through to improve, let's go over a few common setting missteps you'll want to avoid:
- Keeping your hands too low: Your hands should be above your forehead with your thumbs at your hairline.
- Moving your hands too far: While following through a set, your hands should stay close together and stop where your set is targetted.
- Moving your feet incorrectly: When setting, you should step to the ball with your left foot and then your right foot, transferring your weight through the ball and finishing on your right foot.
Footwork is an important technique to keep in mind when it comes to setting. To be successful, you don't want to stand with your feet together and utilize only your upper body. Your footwork can help you put power behind the ball and direct the ball where you want it to go. To help you be mindful of your footwork, remember these four phases:
- Get to the target
- Be prepared to move from the target
- Reach the spot before the ball does
- Stop and then set
Setting Drills
Now that you're aware of common setting mistakes and the importance of footwork, let's cover some drills that will help you practice proper setting techniques.
Your hands are one of your most important assets when it comes to setting. Make sure you practice the proper techniques with them regularly –– alone, with a friend, at home or in the gym –– and keep your hands ready to set the ball for your team!
1. Warm Up Hands
Of all the players, setters touch the ball most in a match, so use this volleyball practice drill for youth and adults to get those hands warmed up! For this drill, quick set against a wall for 45 seconds. Next, take a step back and set against the wall for 60 seconds. Finally, take another step back and set against the wall for 90 seconds. The point of this drill is to help you strengthen your fingers for passing during a game.
2. Lie Down and Set
This drill requires you to lie down on your back with your knees bent. Then set the volleyball to yourself quickly 100 times without pushing the ball high. After doing that, you can slow it down and set the ball higher another 100 times. This drill is great for practicing anywhere! If you want to make it a little bit more challenging, you can use a heavy ball such as a basketball to really strengthen your fingers.
With mindful, consistent practice and repetition of these drills, setting will become easier and even more fun!
How to Get Better at Hitting in Volleyball
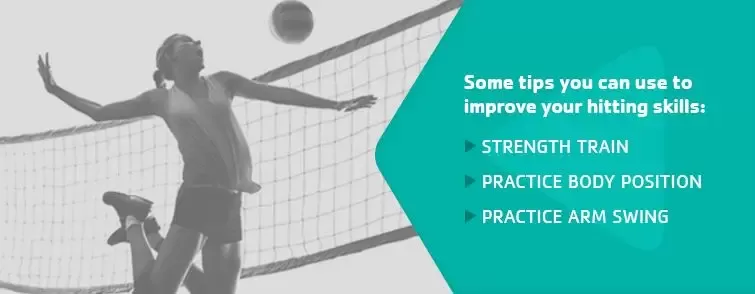
Hitting is a role in volleyball that can mean the difference between winning and losing, so honing this skill and running through drills will do a lot for the success of yourself as a player and for your team. Before we take a look at drills, these are some tips you can use to improve your hitting skills:
- Strength Train: Time to get out the weights! Not only will you need arm strength for hitting, but you'll also need to build up your shoulder, back and abdominal muscles for a powerful swing and jump. Your shoulder is highly susceptible to injury, so strength training can help you keep your shoulder built to withstand frequent impact.
- Practice Body Position: Stay behind the ball and on top of it. Keep the ball in front of you to ensure you get a good swing and can see a block. Make sure you also stay on top of the ball so that you can hit it at a downward angle.
- Practice Arm Swing: Though referred to as an arm swing, you'll want to use your entire body to put power and momentum behind the ball. Using your core will help you build more momentum, and using your whole body will also help you prevent injury to your shoulder.
Hitting Drills
This is a fun volleyball hitting drill you can try at home:
1. Hit Against the Wall
This drill requires you to stand about 10 feet from a wall. Then toss the ball up with your left hand and take a step with your left foot as you hit the ball with your right hand. You want to focus on snapping your wrist with this drill. Ideally, the ball will bounce right where the floor meets the wall. Hitting drills can also help you learn to overhand serve as well. Hitting drills are great to use when you're beginning to work on your overhand serve.
How to Improve Your Volleyball Serving Skills
As a server, you have the first contact with the ball for your team, and your goal, of course, is to get it over the net and make it tough for the other team to return. This drill can help you practice your serves.
1. Aiming Point Serves
You can practice serving by using a wall outdoors and placing a piece of blue painter’s tape to mark how high you need to hit the ball to make it over the net. That is 7’ 4” for players over age 14 or 7’ for players age 12 and under. You can scoot back about 30 feet from the wall or net as well. Your goal is to get the ball over the blue tape every time.
For beginners, you want to see how high you can get the ball so you know it's going over. As your skills improve, though, you can test how close you can place it to the line for a more aggressive serve. Also, if you're using a net, you can place a trash can on the other side and work on accuracy! See if you can aim your serve and hit or get it in the trash can!
As athletes, we're always looking for ways to improve ourselves and better our abilities. All these drills can also be practiced without a ball in the mirror at home. Using a mirror will help you develop your form and improve your skills! Each of these drills is easy to incorporate into your practice at home and don't require a lot of time, so you can do them whenever you have a few spare minutes. If you're looking to improve your skills for the next seasons, these drills will help you reach your performance goals!
Sign up for Youth Volleyball at the Gateway Region YMCA
If you haven't already, sign your child up for volleyball at your local Gateway Region YMCA. In our youth sports programs, we promise no tryouts, no getting cut and no benchwarmers so that every child gets the opportunity to play and learn. In our volleyball program, your child will learn the positions of the game as well as how to bump, set and spike.
Here are some of our sample volleyball league features, depending on location:
- Equal play time for all players
- Six or seven games per session
- Games on Saturdays
- YMCA trained officials
- Volunteer coaches
- Focus on game fundamentals and the development of new skills
- Team shirts/jerseys distributed before the first game of the season
- End-of-season awards
Check out our branch locations today to see if youth volleyball is offered at your local Y!
What to Bring
When you decide joining a youth volleyball league is the next step for your family, here's what you should bring:
- Team shirt/jersey
- Appropriate shoes
- Appropriate shorts or sweats
- Water in a spill-proof container
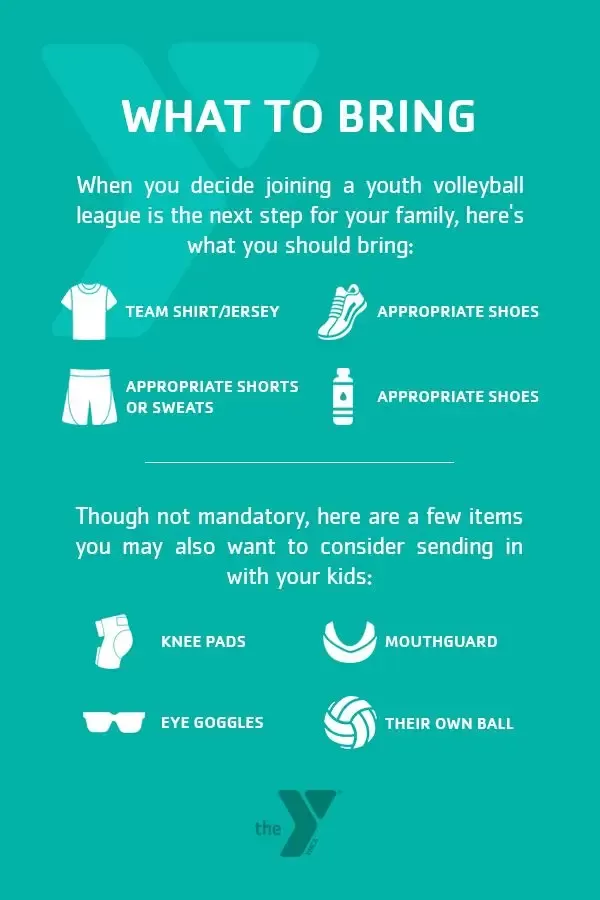
Though not mandatory, here are a few items you may also want to consider sending in with your kids:
- Knee pads
- Mouthguard
- Eye goggles
- Their own ball
These items will set your child up for a successful, safe and fun time with their friends and peers. If your child is interested in joining volleyball, register for a Youth Volleyball League today at the Gateway Region YMCA. In the meantime, keep running through your drills!