
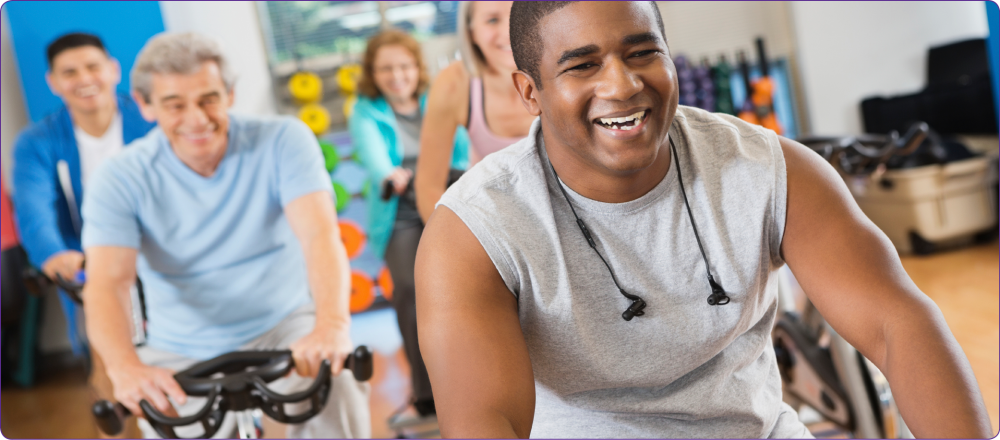
You may have heard of all the hype around indoor cycling... and it's all true! It's fun and a calorie blaster. But to a some, it's also a little scary. I've put together a list of tips to make your first class a wonderful experience.
Let's begin with SAFETY
Safety is key. A safe, comfortable ride begins before you walk through the door of the cycle room. Make sure you've started hydrating before class. Dress comfortably (closed-toe athletic shoes, breathable clothing in layers). Arrive with enough time to properly set up your bike. Always bring WATER (hydrate before, during, and after class, about 40 oz), and a TOWEL (to wipe sweat--you will get sweaty, so we wipe the handlebars to keep them from getting too slippery).
We use a Rating of Perceived Exertion (RPE) scale to determine intensity. It is a scale of 1 to 10. A 1 on the scale would be very mild exertion (lying down or sitting, 50% of your Maximum Heart Rate), 10 is an all-out effort (crossing the finish line of a race, 95-100% of your Maximum Heart Rate). Maximum Heart Rate can be calculated by using the formula: 208 - (0.70 x Age).
If you ever feel pain or dizziness, listen to your body and lower the intensity (either by reducing cadence/leg speed or resistance).
Now let's set up the BIKE
First, find the right height for the saddle. The saddle should be level with the hip when you are standing next to the bike.
When you sit on the saddle, drop one leg all the way down (6 o'clock on the face of a clock). You should have a slight bend (about 25-35 degree bend) in the knee. If you have too much bend, raise the saddle up. If you have too little bend (you feel like you have to lean to straighten your leg), lower the saddle. Your saddle can move forward and backward as well.
You'll know it's in the right place when you bring your feet equal distance off the ground (3 o'clock and 9 o'clock), the front knee should be over the center of the pedal (the pedal spindle).
Fasten your feet into the toe cages, snugly but not too tight. The ball of your foot should be over the center of the pedal. Double knot shoelaces and tuck them in. Handlebars are for your comfort. You can bring them as close to level with the saddle as is comfortable for you. Your elbows should be slightly bent with no straining to reach the bars. If you ever experience low back pain, keep the handlebars up a little higher.
Don't forget when you make adjustments to the bike, make sure to tighten all screws and pop-pins back in place securely.
What about RESISTANCE?
Most bikes are a fixed gear bike. This means that there is no "coasting", the pedals will keep moving once you start pedaling. The white and red resistance knob doubles as an emergency brake, push down on the knob to engage the brake. The white and red resistance knob is your friend! Turn right (clockwise) to add resistance, turn left (counter-clockwise) to reduce resistance.
We always cycle with resistance on the flywheel. To cycle without resistance ("out of control") is not only ineffective, it is dangerous! Always pedal forward, never backward. Pedaling backward is dangerous and ineffective.
A cue to "add resistance/load/gear" means you turn the knob to the right until you feel a change in the legs (it starts to "feel heavier" or "push back" more). Adding resistance will look different for everyone, and might even change for you throughout the workout or from day to day. An "add" can mean a full turn, a quarter turn, or a hair. Listen to your body and experiment with adding. Don't worry, if you add too much you can always turn it back down! Or turn it up when you're ready for more of a challenge! :)
Make sure you always have enough resistance on when you come to a standing position. This will protect your knees. Remember YOU are always in control of the resistance! Listen to your body.
And the POSITIONS
Seated: Sitting on the saddle, sitz bones on the widest part of the saddle.
Standing: Hips over pedals, weight centered over pedals, handlebars help with balance (don't lean into them excessively).
Hand Position 1: Rest hands in the center of handlebars with weight on the outer edges of the hands to maintain circulation to wrists and palms. Keep elbows slightly bent, shoulders relaxed, eyes forward.
Hand Position 2: Place palms over handlebars with thumbs resting on the top or inside of the curve. Point fingers down, point knuckles forward and keep wrists neutral. Maintain a soft bend in elbows, keep shoulders relaxed and eyes forward.
Hand Position 2.5: Hands "in the dips". Lightly grip fingers with the thumbs toward the inside of the bars, maintaining neutral wrists. Keep shoulders relaxed, elbows soft, wrists in neutral alignment, shoulders back, eyes forward.
Hand Position 3: *STANDING MOVEMENTS WITH HEAVY RESISTANCE ONLY* With heavy resistance, stand up and grasp the end of the bullhorns with palms inward and knuckles out. Wrap fingers lightly around bars with thumbs over ends. If you have a shorter reach, you can grab the upward curve of the bars rather than the end. Adjust resistance as needed to maintain a smooth pedal stroke and keep a relaxed grip on the bars.
Don't forget the MOVEMENTS
Flat: Simulating a flat road (either seated or standing). Make sure there is still some resistance pushing back at you (you feel "locked in" and in control). You always have the option to return to the flat road, if needed.
Jumps: Smooth transitions in and out of the saddle. Engage the core, avoid "pulling" your body forward out of the saddle.
Climb/Hill: Simulating an increase in elevation (either seated or standing). This is a strength building movement in which we increase resistance.
Sprints: These are an advanced technique coupling heavy resistance with a high cadence. New riders should participate regularly in cycling classes for at least 6 weeks before attempting sprints. If you attend a class that includes sprinting before you're ready to try it, feel free to simply stay on the flat road.
What is CADENCE?
Cadence (leg speed) is measured in RPM (revolutions per minute). The RPMs can be seen at the top of the computer in the center of your handlebars. YOU are always in control of cadence!
Flat road: 80-110 RPM
Hills/climbs: 60-80 RPM
All about FORM
Start with proper bike set up (see above). Relax the upper body. Elbows should have a soft bend, melt shoulders away from ears, hands in a relaxed grip ("connected" to the handlebars). Keep head upright and eyes forward ("in front of the flywheel" for a neutral spine). Relax the neck. Maintain neutral alignment by keeping sitz bones on the widest part of the saddle while seated. Knees point straight ahead. When standing, keep body weight centered over pedals, shoulders in front of hips. Do not bend forward aggressively or lean on the handlebars, as it may strain the back. Pedal stroke should be round, smooth, and fluid. Avoid "mashing" the pedals.
Don't forget to breathe. Begin with breaths in and out of the nose (as you work harder, the breath will be in the nose, out of the mouth)
Enjoy the RIDE
You are in control of your ride! The instructor offers a roadmap, if at any point something is unavailable to you, take the scenic route and meet back up when you're ready. Warm up is important. Make sure you warm up properly at the beginning of the ride. If you are late to class (life happens sometimes), make sure you give yourself enough time to warm up on the bike before increasing intensity. You control the intensity throughout the ride. Listen to your body, but also make sure you get what you came for! :)
Beginners can feel free to stay seated the entire ride if you prefer. If you feel unstable when standing, try first adding more resistance. You want the pedals to "push back" at you not "collapse" under you.
Hydrate throughout the ride. Towel off as needed. Cool down and stretch. Flush your legs with easy spinning on the bike. Do lower body stretches off the bike. It is fine to start with 15-20 minutes of cycling and work your way up from there (adding 5-10 minutes each time). If you do leave early, make sure you allow yourself an adequate cooldown and stretch.
After the RIDE
Celebrate! You did it!!
Continue to hydrate after the ride. Muscle soreness is normal (especially "saddle soreness"). Continue to stretch, and enjoy some light exercise (a walk, yoga, etc) sometime in the next 24 hours.
A little cycle ETIQUETTE
Wipe down your bike after you are done spinning. Paper towels and spray bottle are located next to the sink at the front of the room. Please do not use cell phones during class. If you must take a call, step out of class and visit the lobby.
Remember, this is always your ride! You are in control of the pace, resistance, and intensity. Do what you can, challenge yourself when you're ready, and have fun! Feel free to chat with me (Lo) about any questions or concerns you may have! Feel free to email me at lo.blackwell@gwrymca.org.
Written by instructor Lo Blackwell, with a special thanks to Joe Herman.
Spinning® Instructor Manual: Second Edition” (published by Mad Dogg Athletics, 2016)